Converting a Shed into an Art Studio
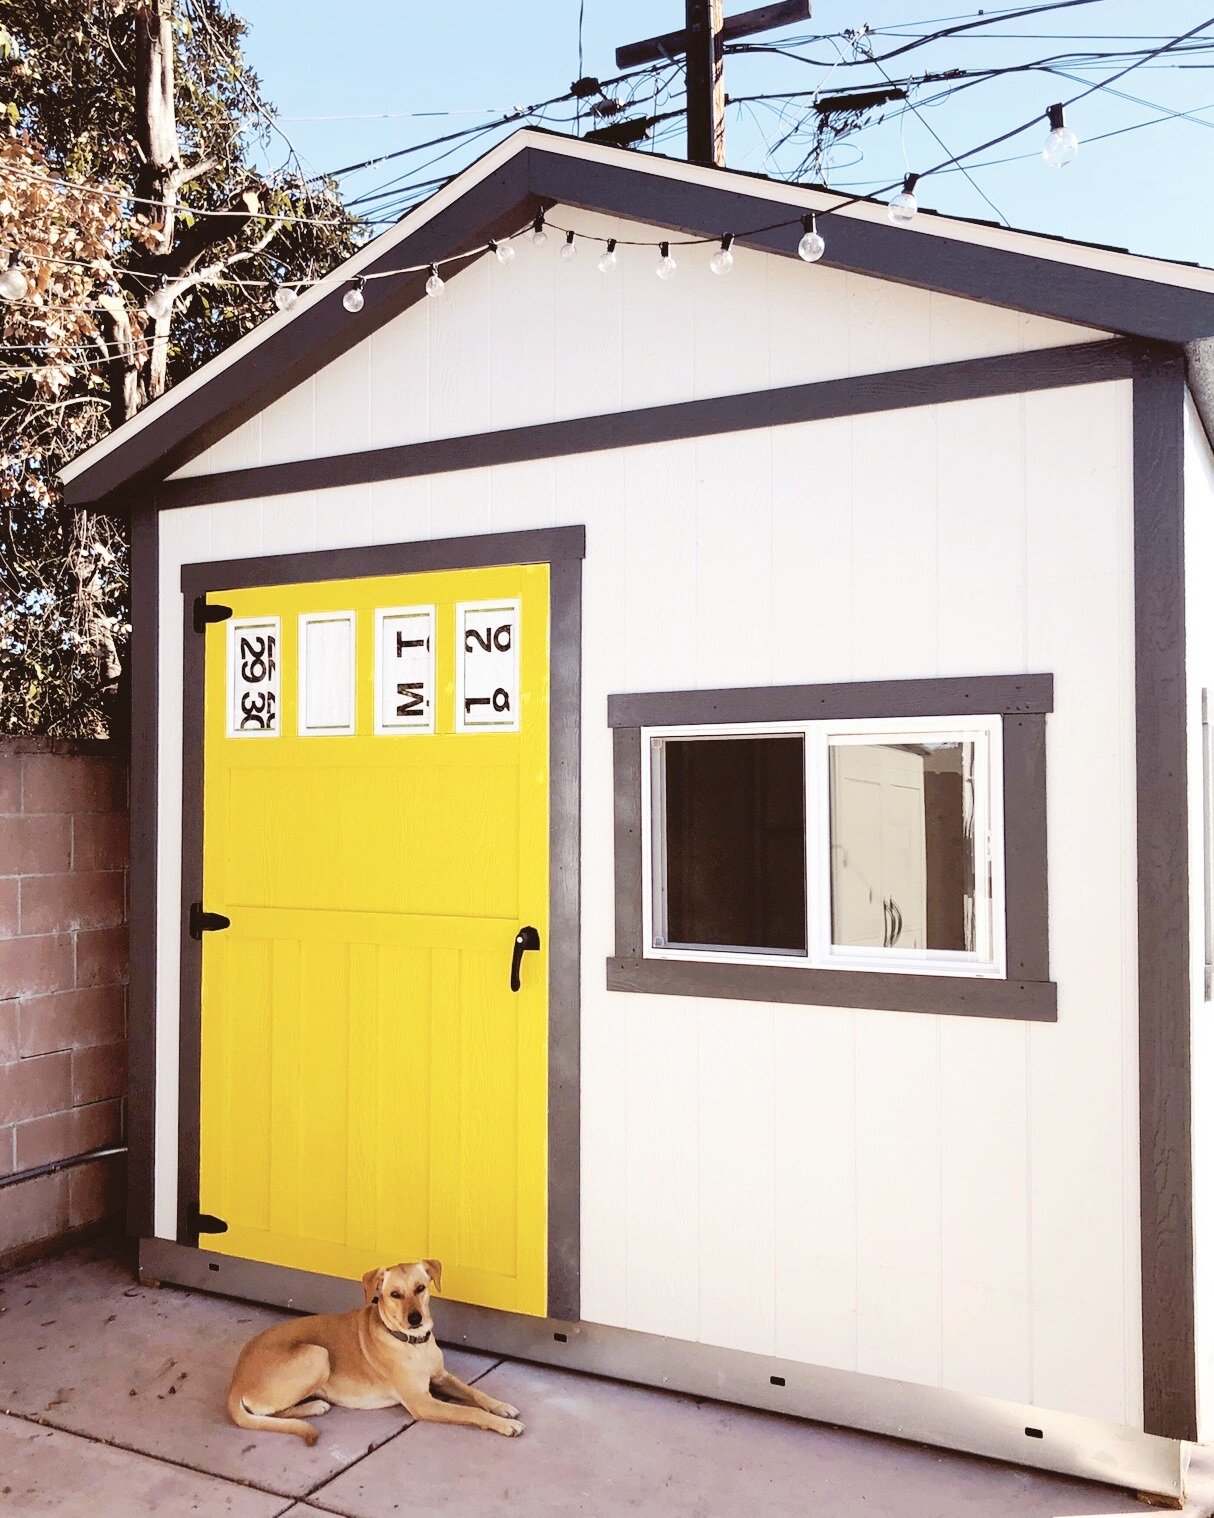
Introducing The LINEN CLOSET!
For the past few months, Patrick and I have been working on converting a shed into the art studio of my dreams. It’s finally completed and I could not be more excited! A week ago, I’ve asked my Instagram followers to help me come up with the name & we decided on Chasing Linen Closet. Clever right?
I’ve been sharing sneak peeks here and there but I wanted to share more in-depth details. In this blog post, I’ll be covering the shed’s specs, how much it cost and my overall experience. Before we begin, let’s get into why I got a shed in the first place.
How it all began
As you may know, I’ve been working out of my home for a few years now. There are definitely pros and cons to working from home but I’ve always itched to have a place that was separate. A little over a year ago, I began my deep dive search for an office space. I’ve made in-person visits to a few locations and even made an offer. Unfortunately (or fortunately), none of the locations worked out and I was left frustrated.
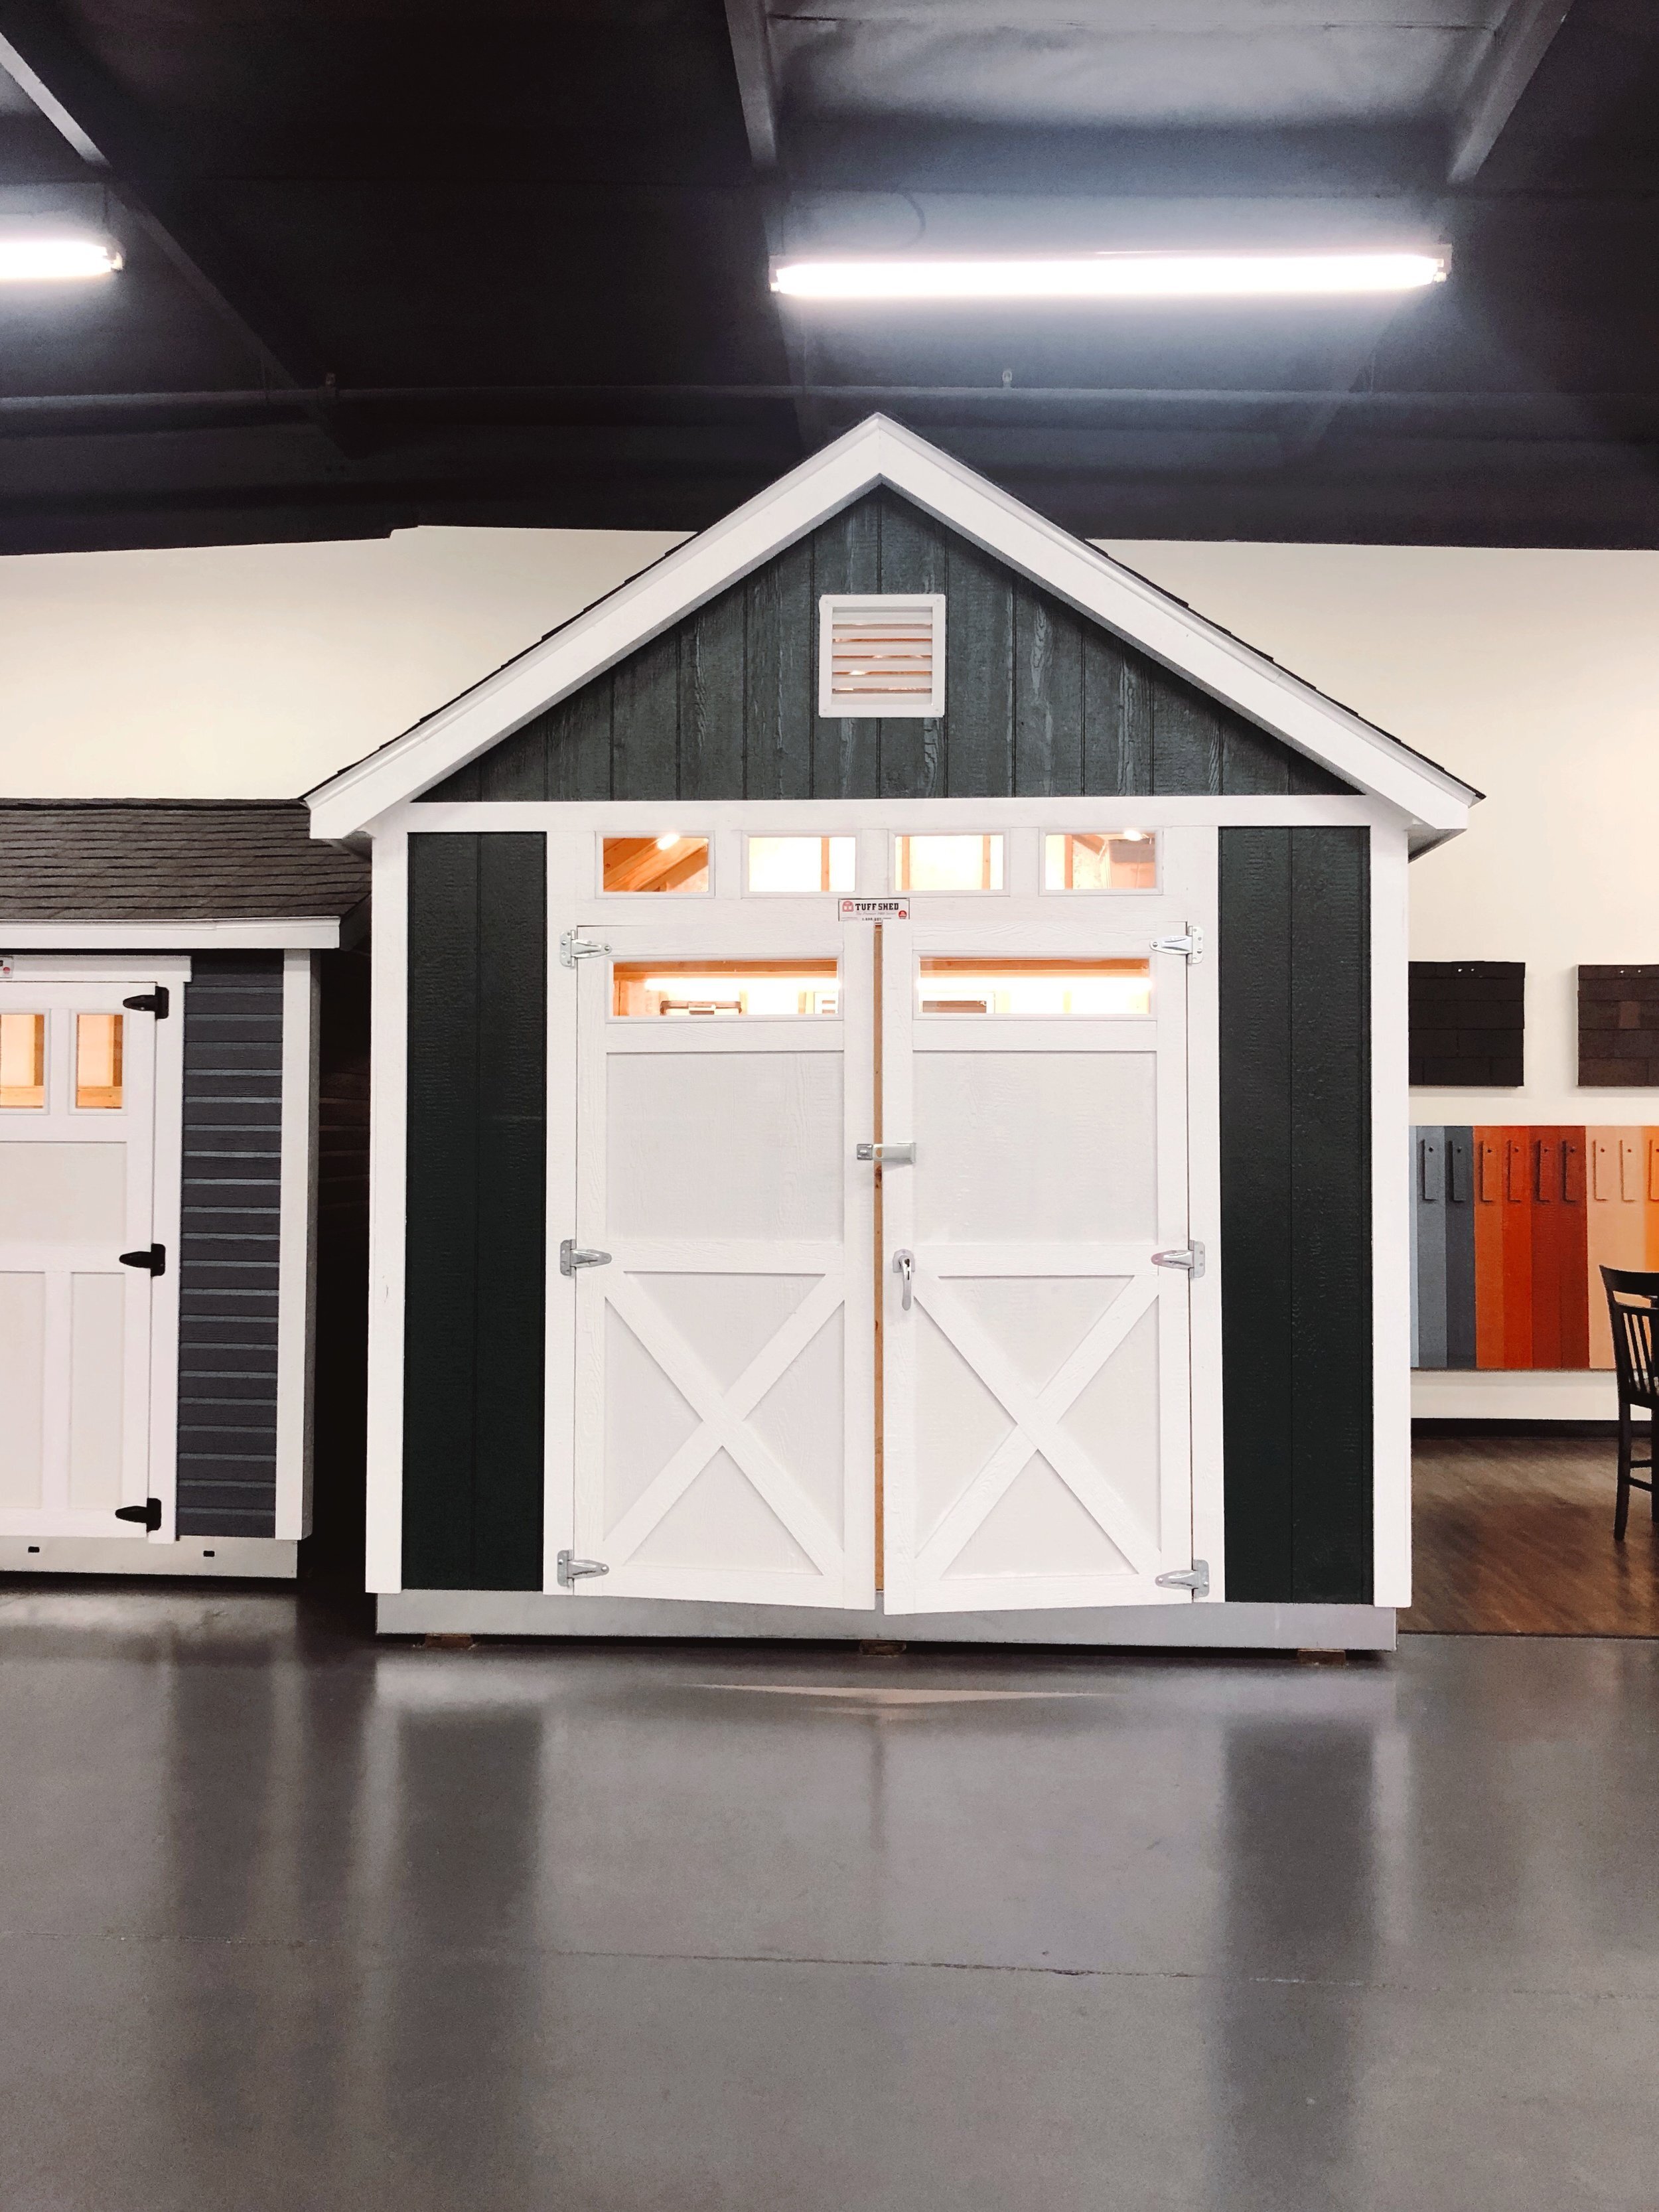
Around that time, Patrick had been looking for at a Tuff Shed to store some of his tools. One evening, we were googling sheds together and I saw one that looked like a little house. And then a light bulb turned on. I thought maybe this could be what I had been searching for! Shortly after, we made a visit to Tuff Shed in Anaheim to check it out in person. They had rows of different models and a lot of them looked little barns. From the inside, the space looked similar to a garage turned workspace. Even though it wasn’t exactly what I was looking for, I could totally envision creating my dream studio with it. The following week, I came back in and purchased my very own shed.
Model & Specs
Tuff Shed has different models that you can select from. From there, they customize details like windows, doors, roof height, and color. For my shed, I went with the Premier Pro Tall Ranch in 10x12’ size. They have a wide selection of colors for the exterior of the shed. For the base, I went with Tundra Frost and Knight’s armor for the trim. You can also pick out the color for the shingle and I went with Estate Gray. For the door, I decided to paint it myself because they didn’t have the perfect yellow I wanted. As for the interior, the walls are made of radiant barriers and studs. The radiant barrier walls help control the temperature of the shed but aren’t necessarily the best to look at. However, I didn’t want to cover them up with drywall and lose additional square footage. Instead, we decided to leave them as is and paint it over.

Costs + Experience
The great thing about Tuff Shed is that once you select your model and customizations, they’ll come and build it for you. The labor is included into the base price and for the model I chose, it came out to about $4,000. At the the time of purchase, they were having a special BOGO deal for their windows so I added three 3x2’ vinyl windows + 16x8” transom windows. I didn’t add too many additional customizations but I did upgrade by adding black hardware to the door. After the windows (BOGO) + hardware upgrade, the shed came out to close to $5,000.
The upfront payment may sound like a lot but keep in mind, renting an office space costs around 1-2k per month. Personally, I thought the shed was a great deal because I now own it and it only adds to the value of our home. Overall, I had a great experience working with Tuff Shed and the whole process was quick and easy. After paying the down payment, they came out a week later and built the shed in under 5 hours. It was fun to watch the shed being built and I was so impressed by how quick they were.
Finishing Touches
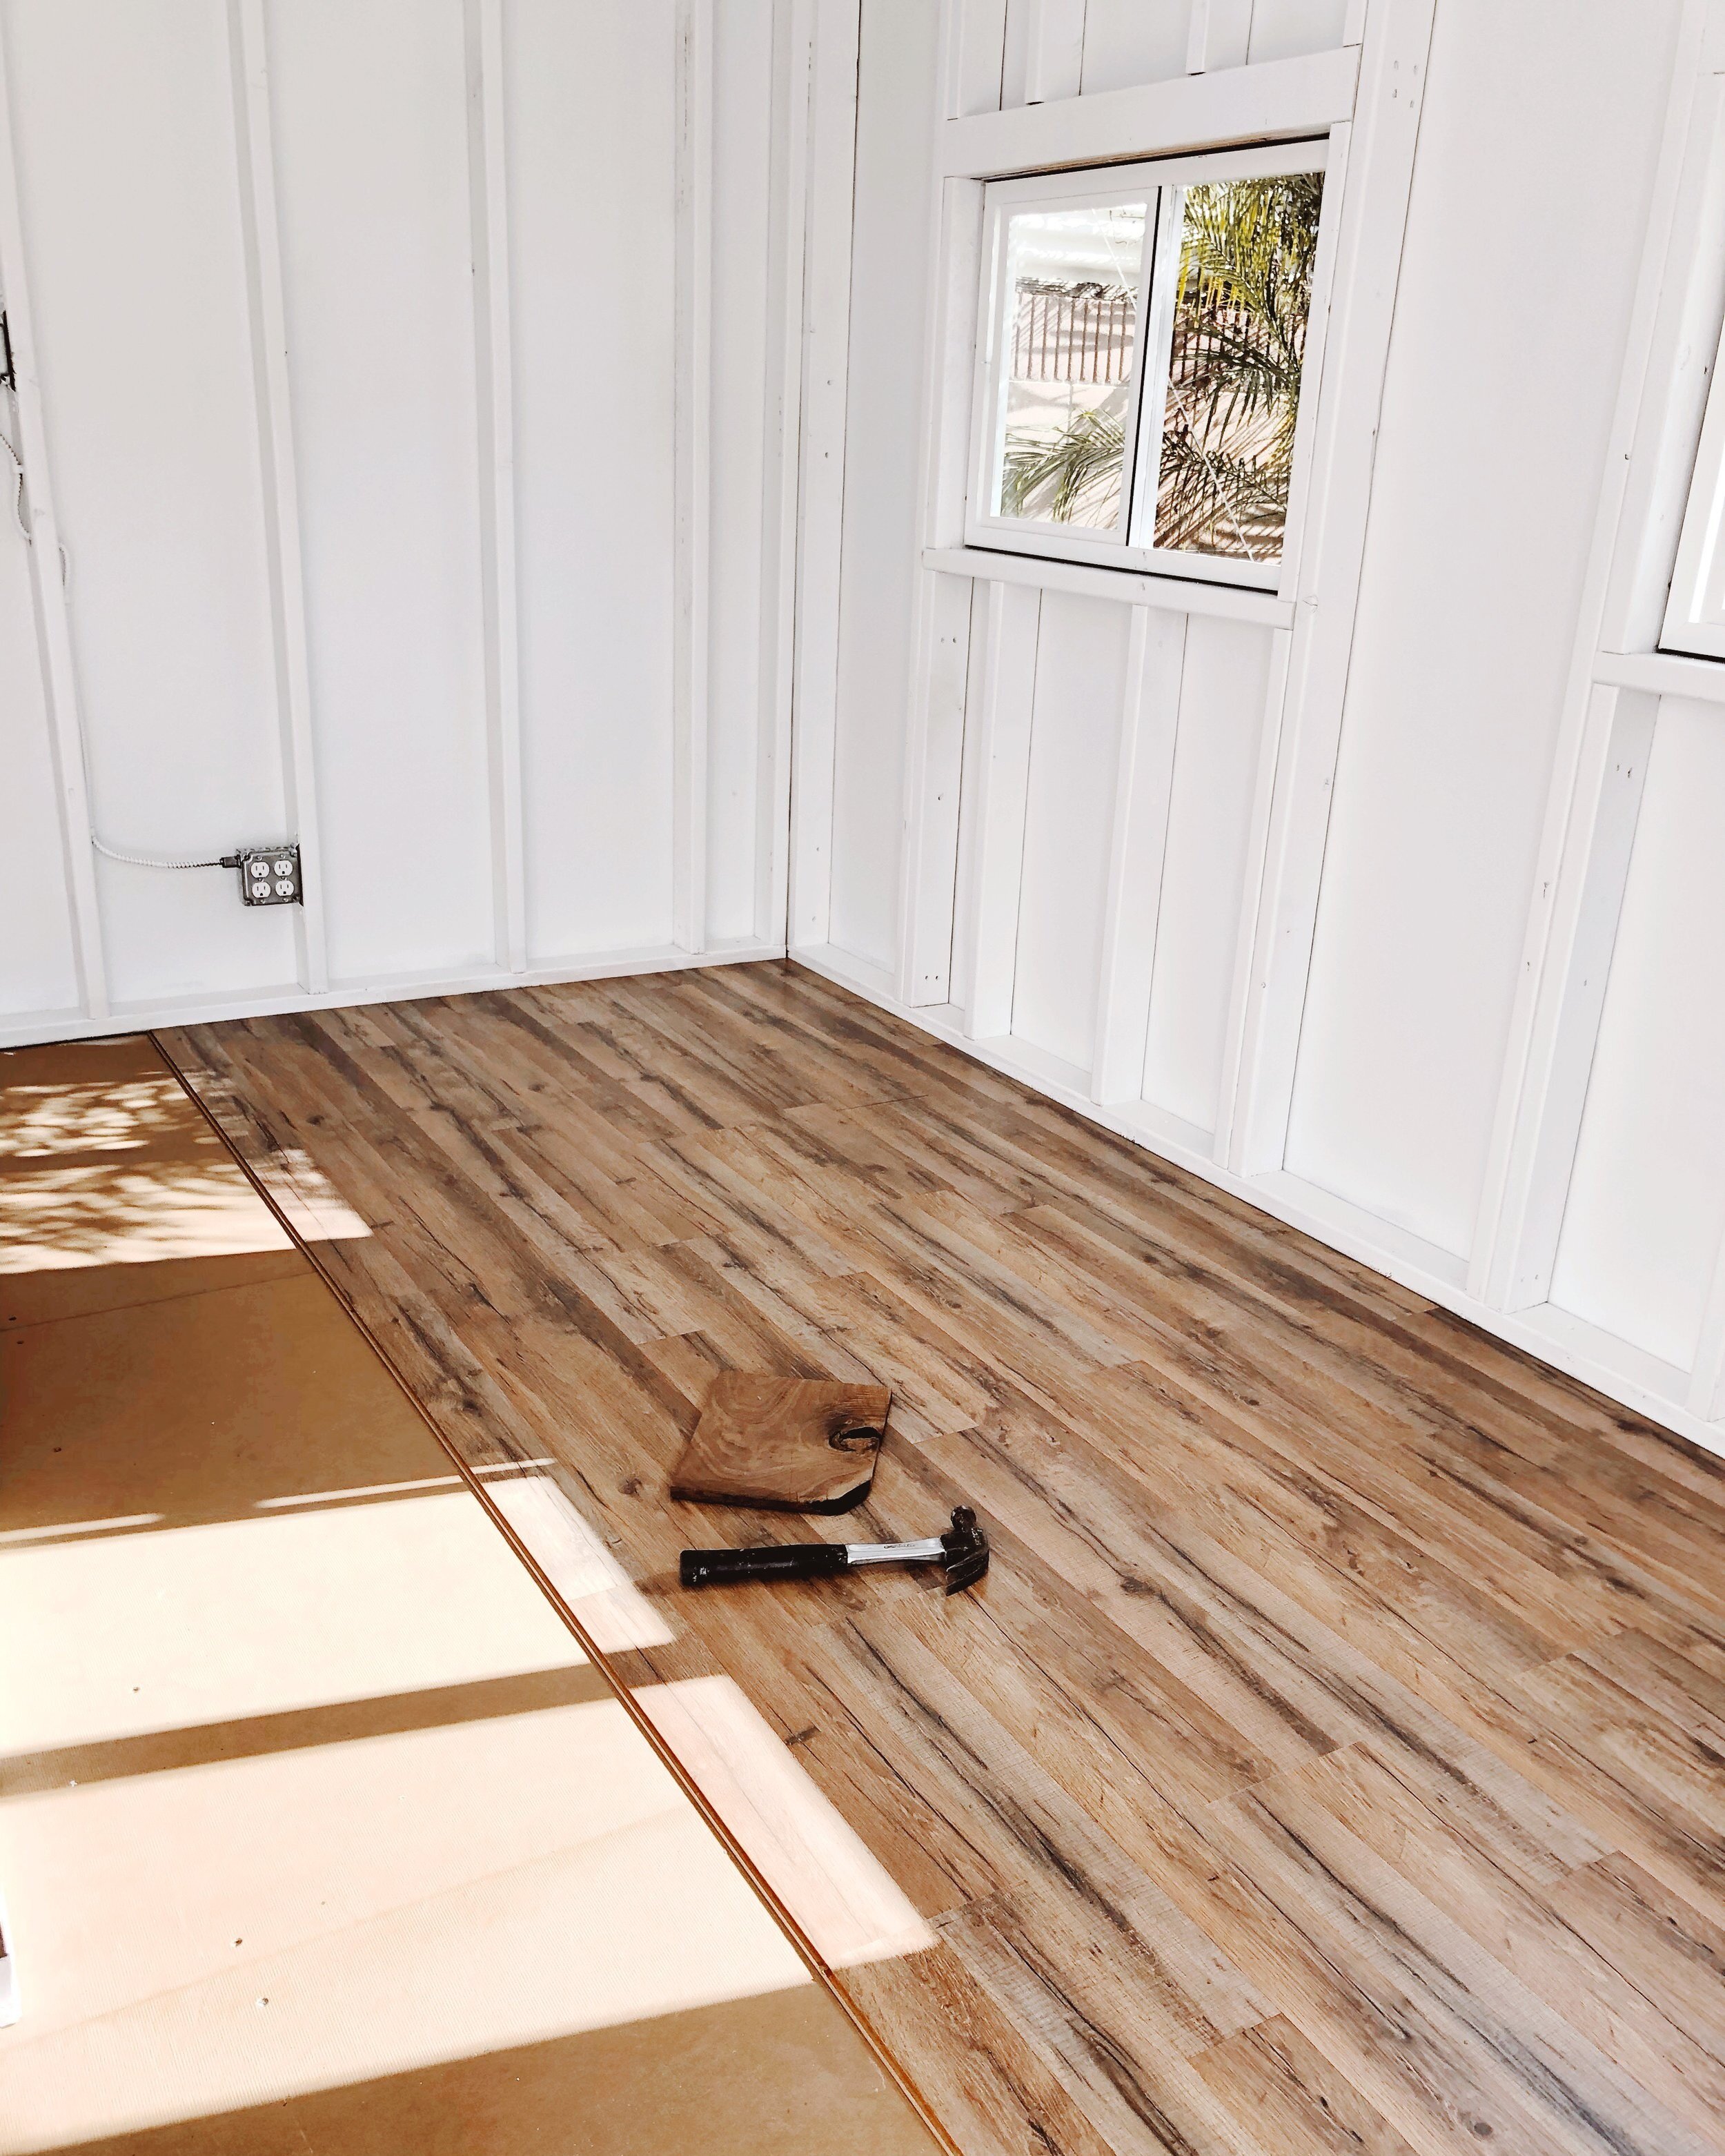
While Tuff Shed builds the shed for you, they don’t have options to customize the interior walls or floors. As previously mentioned, it is made of radiant barriers walls, which basically looks like those silver reflectors you put in your car on a sunny day. Let’s be honest, they’re not the greatest to look at and I definitely didn’t want them for the studio. I still wanted to keep the exposed beams so instead of covering them up, we decided to paint over them. Tuff Shed wasn’t able to give us any info on what type of paint we should use, so we just went to Home Depot and asked the employees. They advised us to use PPG Gripper Acrylic Paint which is a primer & paint combo. We rented a paint sprayer at Home Depot and sprayed the whole thing down. We waited a few days before going back in to add a second coat and voila, there were white walls!
In addition to painting, we also added laminate wood floors to make it more cozy. For the final touch, Patrick and his dad Erik built this incredible workbench for me. I’ve always wanted a giant desk where I can sit or stand to work so I created a blueprint of what I wanted. Patrick and Erik built a custom workbench that fit perfectly into the shed and I could not be more happy with how it turned out!


Isn’t it amazing what a little coat of paint can do to a space?! It’s all in the details ;)
I’m now officially moved into the Chasing Linen Closet and it’s been so much fun decorating the space. Once I’m done, I’ll definitely do a tour so stay tuned. If you have any follow up questions about the shed, feel free to leave it in the comments below!